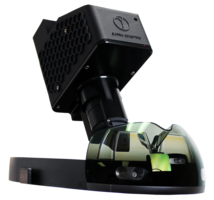
New NED-LED Provides High Sensitivity for Low Light Measurements
Delivers high spatial resolution display quality measurement for virtual Reality, augmented Reality and mixed reality. Optimized for both true eye rotation pupil motion and fixed pupil rotation measurements. Ideal for automotive HUD testing, avionics display evaluation, helmet mounted display test and medical and healthcare AR/VR device evaluation.
Read More »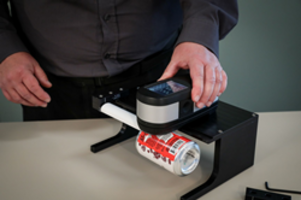
New X-Rite Measurement Devices Measure Cylinder Shapes for Packaging, Plastics and Industrial Applications
Can measure textured, reflective, translucent, and transparent samples using ISO-compliant Munsell backing material. Include a sample-positioning arm to hold the sample at the correct height and angle. Allows the operator to move the sample or rotate it to measure different locations.
Read More »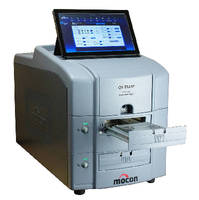
Oxygen Permeation Tester suits ultra-high barrier materials.
Capable of handling broad range of flexible materials, including all plastic as well as foil and metallized structures, OX-TRANÃ-® Model 2/22 10X System accurately and repeatedly measures film barriers to 5x10⁻⁴ cc/(m2 x day) at precise temperature and relative humidity conditions. Oxygen transmission rate test instrument, compliant with ASTM D3985,Ã- provides fully automated testing,...
Read More »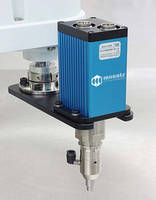
Automation Torque Control System increases productivity.
WithÃ- digital adjustable torque setting, variable torque and speed control, and multiple I/O options for integration with PLC, SH-Series helps manufacturers optimize assembly area, reduce labor, and increase productivity. WindowsÃ-®-based software allows customization forÃ- each fastening application, andÃ- multiple fastening strategies can be implemented for sensitive or...
Read More »
Quick Guide to Components for Medical Furniture
When designing for a hospital environment, it is essential to consider the small components that enable your application to perform to a high level. Hospital furniture has different users, so it's not only patients you need to think about, but also caregivers.
Read More »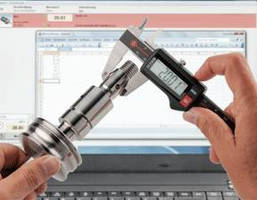
Digital Calipers and Indicators offer wireless communication.
Equipped with low-power transmitters, MarCal Digital Calipers and MarCator Digital Indicators send data to MarConnect i-stick wireless receiver, which supports up to 8 instruments with range up to 12 m. Users canÃ- take measurement and transmit data directly into MS Excel or via keyboard code into Windows program without external transmitters. MarConnect wireless interface is active as soon...
Read More »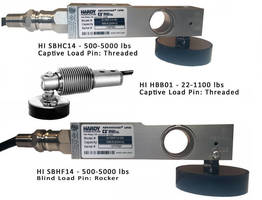
Footed Load Cells foster C2-® electronic calibration integration.
Offering respective capacities of 500–5,000 lb and 22–1,100 lb, HI SBHC14 and HI HBB01Ã- share threaded captive load pin design that promotesÃ- structural integrity and installation flexibility while also eliminating potential for lift-off from foot. HI SBHF14,Ã- offering 500–5,000 lb capacity,Ã- features blind hole, rocker pin design that promotes accuracy by accommodating...
Read More »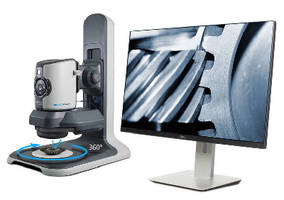
Digital Microscope offers full-HD 360-degree rotating views.
Designed for quality control, testing, inspection, and documentation, rotating viewer accessory for EVO Cam Digital Microscope delivers oblique view of subject that can be rotated 360Ã-
Read More »Runzheimer to Present, Exhibit at NAFA Fleet Management Institute and Expo
Runzheimer scheduled to present on the expectations of the future workforce at leading fleet management expo WATERFORD, Wis. - Runzheimer, a business vehicle, relocation information and expense management services provider, will be presenting and exhibiting at the NAFA 2016 Institute and Expo in Austin, TX this week, a leading event for the fleet management industry. The Runzheimer team will...
Read More »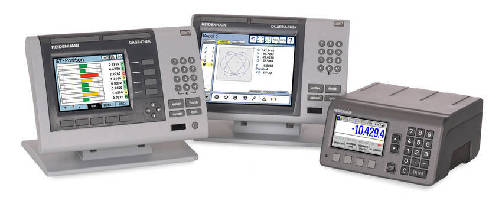
Evaluation Electronics export data into Excel.
Using QUADRA-CHEK Wedge v2.9, users can export data into Excel format from QUADRA-CHEK Evaluation Electronics. Program provides full Windows compatibility, macro-enabled worksheets, and support for Excel 2010 and 2013. Ability to save Excel files to network folders or any other specified folder with QCWedge streamlines process of data acquisition by allowing customers to connect QUADRA-CHEK...
Read More »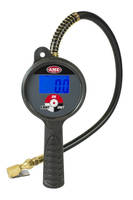
Handheld Digital Tire Inflator maintains safety with efficiency.
Supplied with 6 ft hose and powered byÃ- 2 AAA batteries, Accu-Flate XL measures, inflates, and deflates tires. Functionality promotes safety while preserving efficiency and accuracy in automotive, heavy-duty truck, and OTR industries. Features include backlit LCD screen and auto-off functionÃ- that helps preserve battery life. In addition to distributors and technicians, potential users...
Read More »
SEALTITE® Fittings and Cord Grips Offer Longer Lasting Protection
Anamet Electrical's 316 Stainless steel SEALTITE® fittings and UL-listed cord grips protect sensitive wiring components from fluids, corrosive contaminations, bumps, and abrasions with a steel core and liquid tight conduit jacket. Check out this video to learn more.
Read More »


